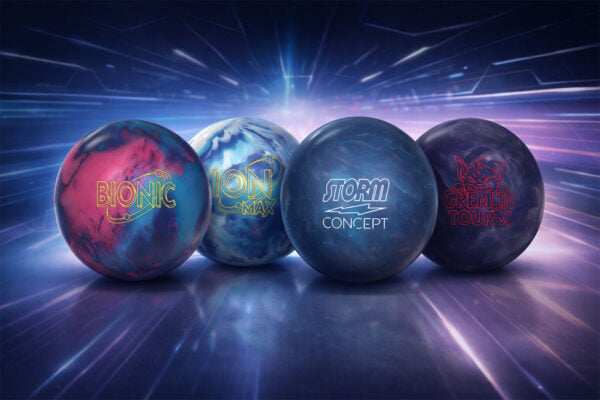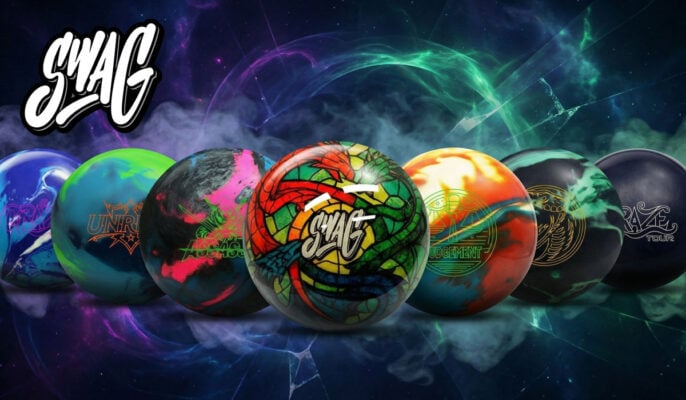
SHOP ALL BOWLING BALLS | SHOP LATEST RELEASES
BY PERFORMANCE
TOP PICKS IN STOCK

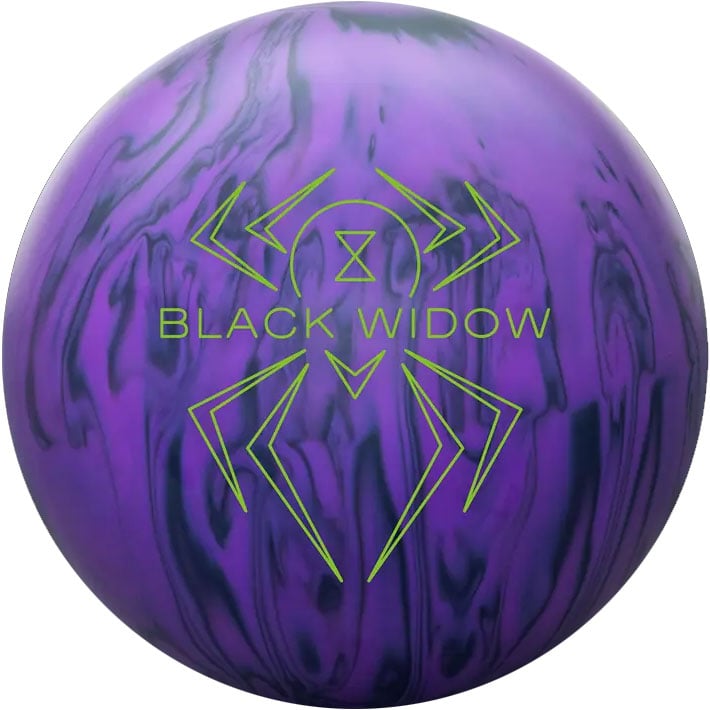
Hammer Black Widow Tour V1
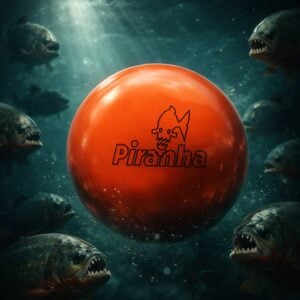
Columbia 300 Piranha Solid Bowling Ball
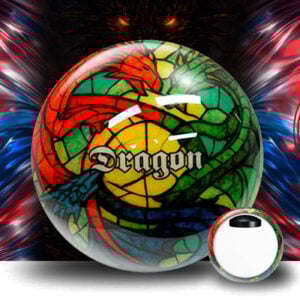
SWAG Dragon Stained Glass Poly Bowling Ball
BY PRICE
TOP PICKS IN STOCK
Hammer Black Widow Tour V1

Storm Equinox Solid

Motiv Shadow Tank

PRICE / PERFORMANCE
CUSTOMER FAVORITES
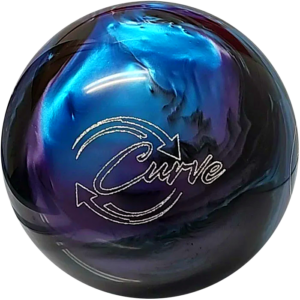
Epic Curve Darkness Bowling Ball

Epic Wine Ice Blue Be Epic Bowling Ball
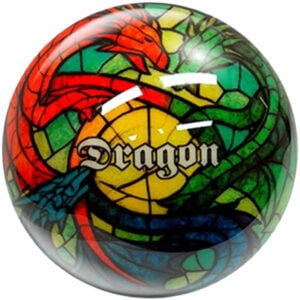
SWAG Dragon Stained Glass Poly Bowling Ball
MORE WAYS TO SHOP
ADDITIONAL RESOURCES
FIND YOUR PERFECT BALL IN OUR QUIZ!

ADDITIONAL RESOURCES

OVERSEAS BOWLING BALLS
Domestic Ball Archives
TOP PICKS IN STOCK

Hammer Black Widow Toxin Hybrid

Hammer Black Widow Toxin Solid